I have to say, this was my first photo tutorial, so please be gentle with me. I wanted to start with something easy, classy, and wearable for all. I decided a classic smokey eye was the way to go. I have yet to find someone who can't pull off a nicely done smokey eye. Even people who say "I can't wear dark colors," tend to look good with a smokey eye because they are fully customizable. Afraid of black pigment? Use more whites and grays and just a teensy bit of black on the outer corner! Like a dark dark smokey eye? Try using a black base instead of a white one, or use more black pigment. Smokey eyes don't have to be just white, gray/silver, and black either! You can use and endless combination of colors and still look fab! I like to use reds and pinks for an ultra dramatic eye (this may come at a later date, if you'd like.) Anyhoo.... On to the tutorial!
To start with, pick out your pigments (obviously) Today, I'm using Something Old, Something New, Something Borrowed, and Time Warp... Again. (All Tick:Tock future releases) Also used in the look: Infinity Eyeshadow Base in Milky Way and Black Hole (tightlining, see video farther down the page) and Glory Box Cosmetics eye primer, TKO. Priming step is not pictured because I forgot. To apply primer, just squeeze a little bit out onto your finger and smear it all around your eye, let it sit for a few to dry and go from there.
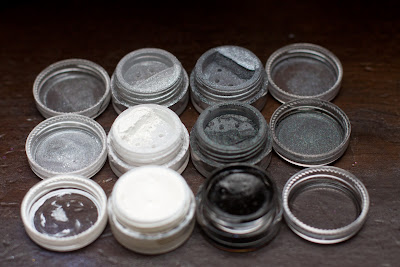 |
| Clockwise from top left: Something Borrowed, Something Old, Time Warp... Again, IESB Black Hole, IESB Milky Way, Something New. |
I also get all of the brushes I think I might need out and ready, so that everything is within reach. Here are all of the brushes I used today. :) Brush descriptions are in the captions.
 |
| I use this little guy to add a smidge of color to my tear duct. |
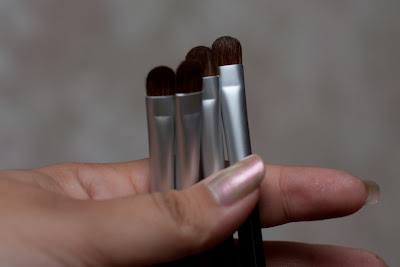 |
| These are nothing fancy, they came in some Loreal HIP loose pigments. I use them for applying the majority of the color to my lids. |
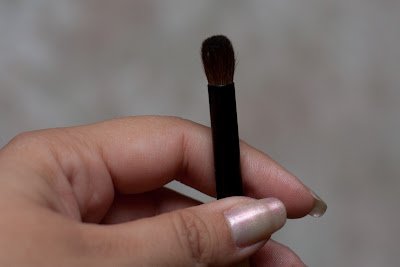 |
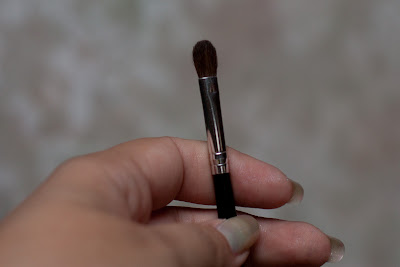
| This is a fluffy crease brush that I use to blend away the harsh lines in my crease/orbital bone. |
 |
| This is a soft, fluffy blending brush that I use to blend color out from my crease and soften harsh lines. |
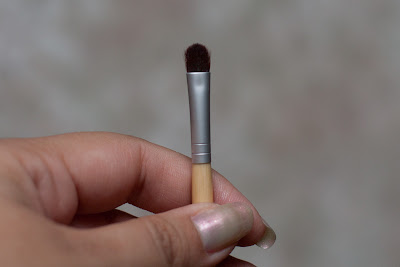 |
| This is a flat shadow brush. I generally use it to apply pigment to my water line. |
 |
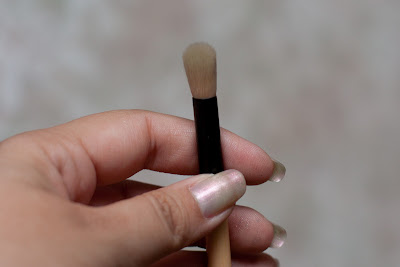
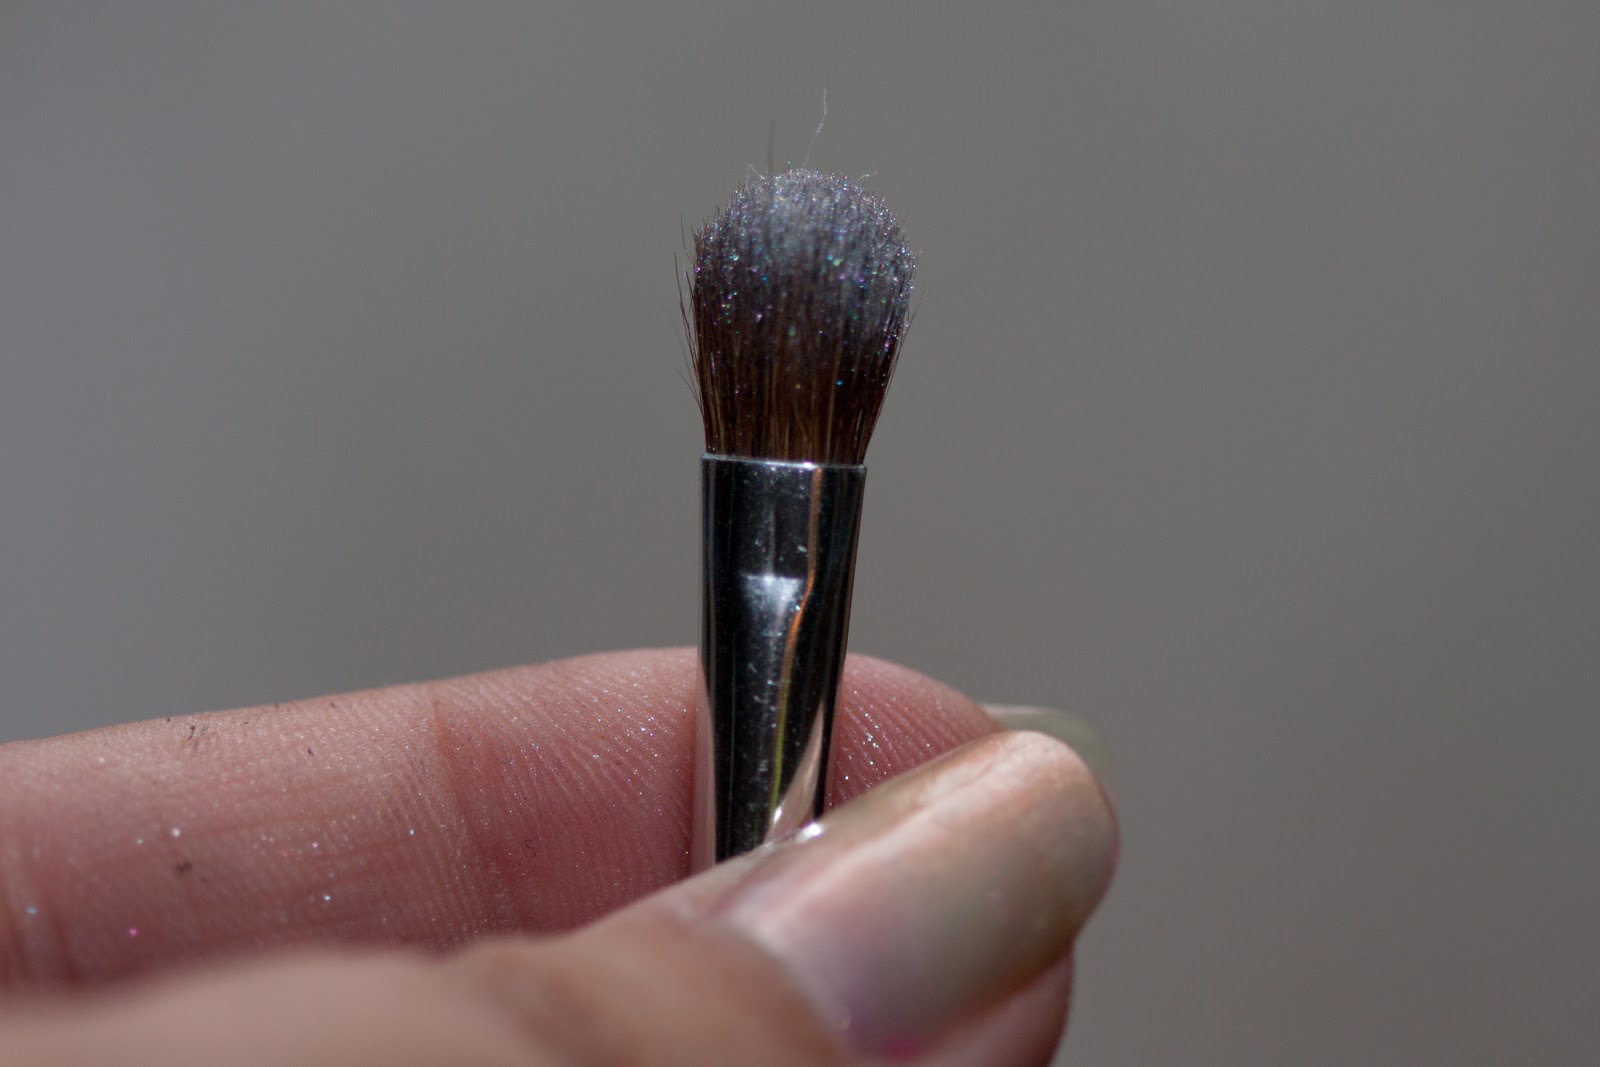
| I'm not entirely sure what this brush is called. I just know it's small and fluffy. I use it for my highlight color. |
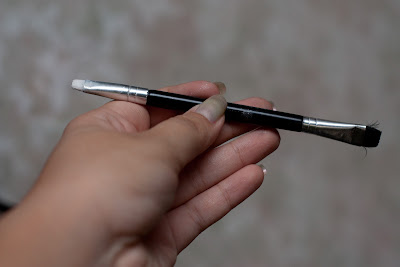 |
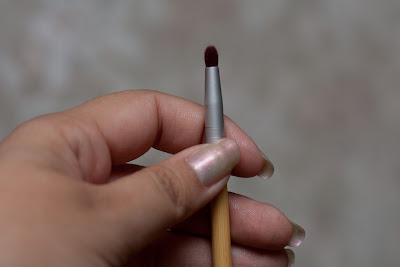
| This handy little guy is a double ended eyeliner brush. I use it to apply my base with. |
To start with (after priming) spread your base all over your eyelid and blend it so that it's less likely to crease.
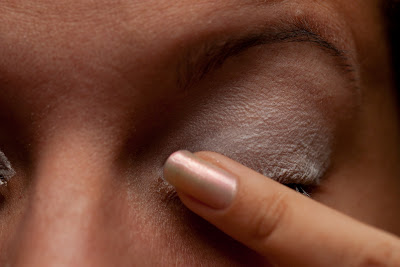 |
| Blendy blendy! | | |
|
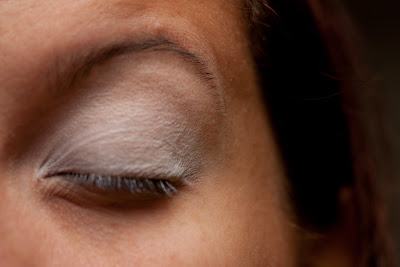 |
| All blended out. |
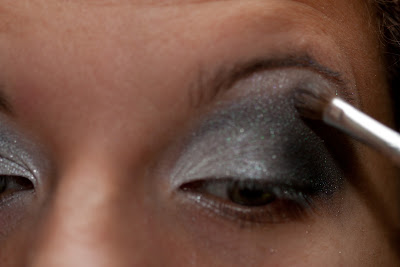
After you get your base applied and blended, then it's time to move onto shadows. I like to start on the inner corner and work my way out. You can go either way. I also go from eye to eye, this helps keep everything more even. What you didn't see with this tutorial is that I would do the eye I was photographing, set my camera down and then do my other eye. This whole thing was quite a process... Anyway. Load up your brush with your lightest color and PAT (very important! It helps your pigment be brighter and reduces glitter fallout)
After you've patted your lightest color into place, move on to the next darker color.
Once again, move on to the next darkest color. You may have noticed that I've not blended anything just yet. I don't worry about blending until all my colors are in place.
This is where you would normally be done, but I used four shadows for this instead of just three, I have one more set of pictures. This last step is the one that usually scares people because I'm bringing out the straight black pigment. As you can see in the last photo up there, I saved a bit of room for the last color. I'm not adding a huge amount of black pigment to the outer corner, but I feel using black instead of ending with a dark gray/silver looks better (personal preference.)
Now that you've gotten all your pigment in place, you may think you are done. You can be, if that floats your boat, but I don't like the harsh line in my crease. (Illustrated below.)
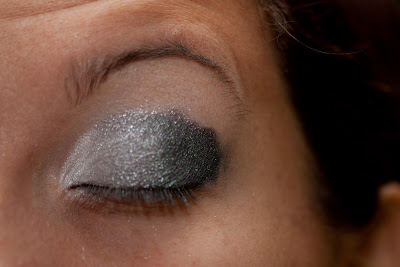 |
| See that harsh line? Get ready to kiss it goodbye. |
Here is where your fluffy crease brush will be your friend. I like to take the dark gray/silver and get a little on my crease brush and then swirl it around in the lid. You don't want much on the brush, just enough to add a little color and smooth out that line.
Once I've gotten it blended to where I want it, I grab my fluffy blending brush and blend that out from my crease further. *Note: There is NO pigment whatsoever on the blending brush. Use the shadow you already have applied to blend.
 |
| This is what you should have after blending the crease out. |
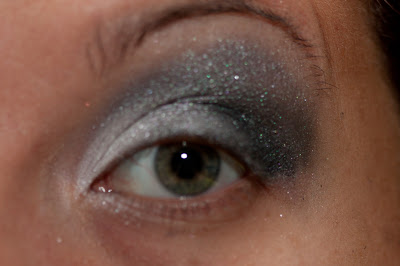
Now, you could once again call this done. I personally like to have a highlight color and like to add a little white to my duct. For your highlight color, I generally use the same color that I'm putting in my duct (which in this case is the same white that I used on the inner corner of my eyelid) Once again, I load a little bit of shadow onto my small fluffy brush and then swirl it around in the lid. I don't want too much color under my brow.
 |
| Lightly brush your highlight color into place. |
I totally failed at taking a picture of my little brush for my duct color with the pigment on it, but I'm sure you get the idea of what to do. Just load it up with a bit of color and lightly pat/swipe into place and blend out toward the middle of you lower eyelid and up into the white on the inner corner.
I also failed miserably at getting finished pictures, but I did film a tutorial on tightlining that has my finished look. All I did after this point was add mascara and eyeliner. I shall link my video below. Enjoy!
Here it is!!


No comments:
Post a Comment